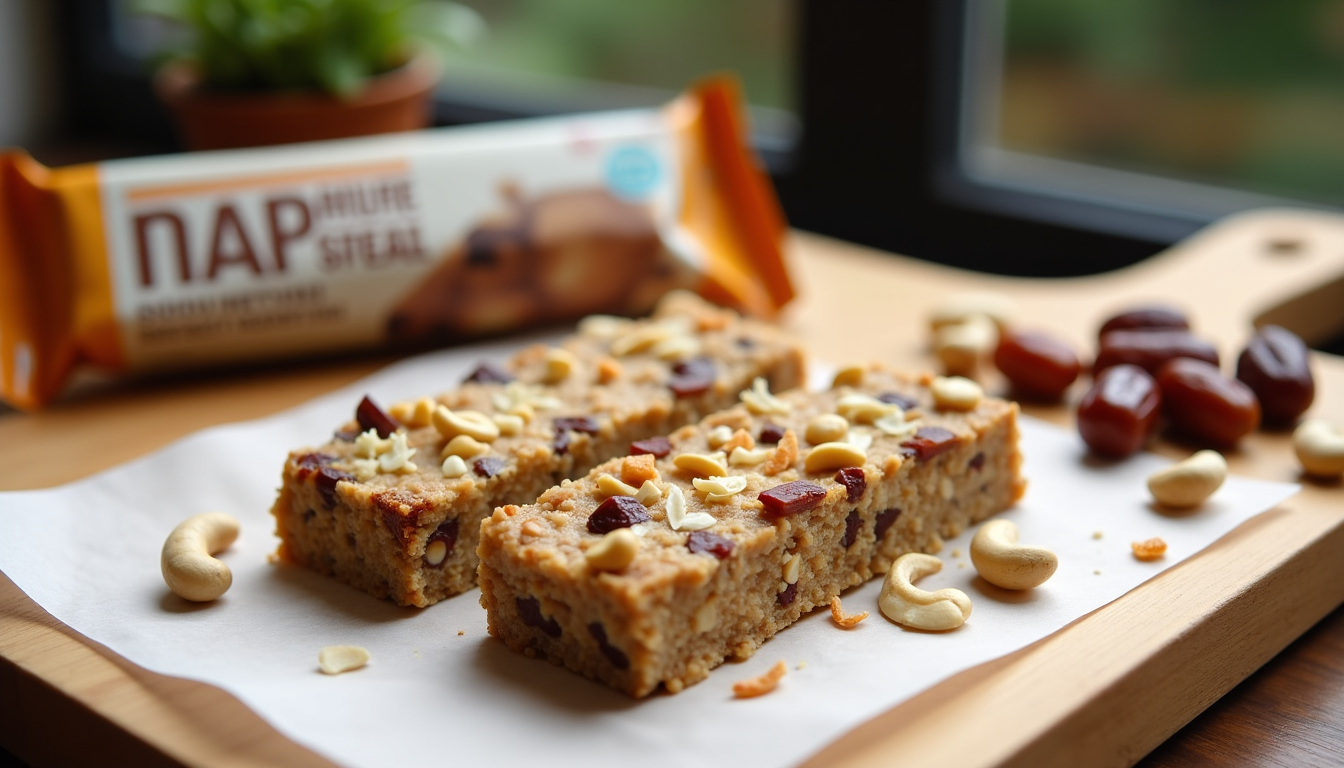
Why I Ditched Store-Bought Energy Bars (And You Should Too!)

Y'all won't believe this, but I'm writing this from a cute little café in Bali, munching on my homemade cashew coconut energy bars! happy dance
Let's get real for a sec - how many times have you grabbed an energy bar from the store, only to find yourself reading an ingredients list that sounds like a chemistry experiment? Been there, done that!
The Store-Bought Energy Bar Problem
Look, I get it. We're all crazy busy, and those wrapped-up promises of protein and energy are super tempting. But here's the thing - most commercial energy bars are:
- Loaded with weird preservatives (can't even pronounce half of them!)
- Packed with refined sugars
- Wayyyy overpriced
- Usually taste like cardboard covered in chocolate (sorry not sorry)
My Accidental Discovery
Last year, while prepping for a hiking trip in New Zealand, I started experimenting with making my own energy bars. After countless (sometimes hilarious) kitchen fails, I finally cracked the code with these no-bake cashew coconut beauties.
The Game-Changing Recipe
Here's what you'll need (and trust me, you can actually pronounce everything!):
- 1 1/3 cups unsweetened coconut flakes (toasted for extra yumminess)
- 1 1/2 cups roasted unsalted cashews (nature's candy, amirite?)
- 1 cup packed pitted dates (nature's ACTUAL candy)
- Some cinnamon, orange zest, and other goodies
The best part? No baking required! Just blend, press, chill, and BOOM - you've got yourself some seriously awesome energy bars.
Why These Bars Are Life-Changing
- Actually Natural Energy: The combo of dates and cashews gives you sustained energy without the crash. I powered through a 6-hour hike in Ubud yesterday with these babies!
- Budget-Friendly: Once you've got the ingredients, you can make multiple batches for way less than store-bought bars.
- Customizable AF: Don't like cashews? Use almonds! Want it sweeter? Add honey! The possibilities are endless.
Pro Tips from My Kitchen Disasters
- Toast those coconut flakes! It's an extra step but TRUST ME on this one
- Don't over-process the mixture (unless you want cashew butter lol)
- The orange zest is optional but adds this amazing fresh pop
- Store them in the fridge - they get kinda melty in room temp (learned this the hard way in Thailand 😅)
When to Use These Bad Boys
These aren't just hiking snacks! I've used them for:
- Early morning yoga sessions
- Long flights (airport food = no thanks)
- Afternoon slump at work
- Pre-workout fuel
- Late-night writing sessions (like right now!)
Let's Get Real
Making your own energy bars might seem extra, but it's actually super empowering. You know exactly what's going into your body, plus there's something really satisfying about creating your own fuel.
Your Turn!
Have you tried making your own energy bars before? What are your fave combinations? Drop a comment below - I'd love to hear your stories and maybe steal some ideas for my next recipe experiment!
And hey, if you make these, tag me in your pics! Nothing makes me happier than seeing your kitchen adventures (even the messy ones - those are actually my favorite!).
P.S. Currently working on a chocolate-mint version of these... stay tuned! 😉
Sending you all the healthy snacking vibes from my corner of the world!
Emma x


